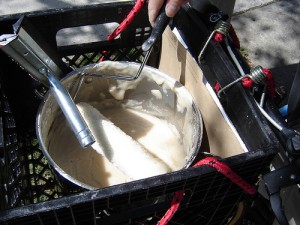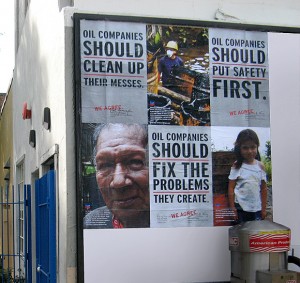
Ever wanted a cheap, nontoxic adhesive? Lucky for you, everything you need is probably sitting in your cupboard.
You can use your wheatpaste as a functional adhesive both indoors and outdoors. It’s easy, cheap, nontoxic, and quick to make. Plus, a little goes a long way. Time to get your paste on!
Ingredients
Note: scale the recipe ratios as needed for quantity desired. This will make about 6 cups
-1/2 cup flour
-cold water
-6 cups boiling water in a pan on the stove
-1 Tbl of sugar (optional)
-container with lid for paste
-brush or paint roller (I prefer a stiff pastry brush)
Instructions (not strict by any means; adjust as needed):
1. Sift or whisk the flour to break up lumps.
2. Put flour into a bowl and stir in cold water. Continue stirring in cold water until the mixture is “pourable” (kind of like pancake batter). Whisk again to break up remaining lumps.
3. Slowly pour your mixture into the boiling water and stir to combine. Leave on low heat stirring the whole time. You will get a few bubbles (meaning the mixture is at a low boil). Stir on low boil for 1-2 minutes, the mixture thickens a bit.
4. Remove from heat. You may add sugar to boost stickiness at this point. Let cool until you can pour it into your container.

5. Congratulations, you have made wheatpaste! For most projects, filling up a large coffee cup will be the right amount of paste for ~20 pieces of paper. You can use it warm or cold. If you let it cool, use extra water because the paste will thicken the longer it cools. This does not work well once it gets below 0 degrees as the paste freezes and isn’t sticky.
To Use
-Use your brush to scoop paste and paint a thick layer on the wall or surface where you want to post your sign/flyer/poster
-Stick your paper on to the paste
-Paint a thin layer of paste over the attached paper to seal it in, esp. on corners
-Let dry
-Take pictures!


